Publishing Calendars
When you enter events into web Calendar Pad, the events are stores in an internal database kept on you computer. 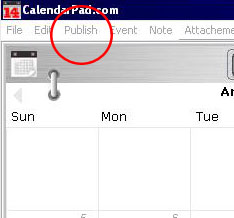 To publish a web page calendar that event data needs to be organized, formatted, saved into html and then sent over to your web site.
To initiate this process, from the main manual choose Publish, New Calendar.
A new form will appear, shown bellow, that will guide you through publishing a calendar.

Web Calendar Pad has the ability to publish a calendar to internet, printer, file, desktop or home page. Typically however,
publishing to the internet is what most users want to do.
This can be done in two ways. By saving the calendar to file, and the manually transferring it over to the web site using third party tools such as an FTP program. Or by taking advantage of Calendars Pad's built in FTP module, the calendar can be published directly to the web site.
Publishing A Calendar
- Destination: Select the destination for the calendar. If you select "internet" you will be prompted to provide FTP login information, and the directory on the server where you want to place the calendar pages into. Information on how to transfer files can be obtained from your ISP.
- Preview Button:
When you press the preview button, a preview of the calendar will appear in a new web browser window. This way you can review your changes (such as the chosen style) before you publish.
- Publish Button: When you press the publish button the calendar will be published to the chosen destination.
- Format Button: When you press the format button you will be able to then edit the calendars contents and appearance.